Showing posts with label children's cooking. Show all posts

Sunday, 5 August 2012

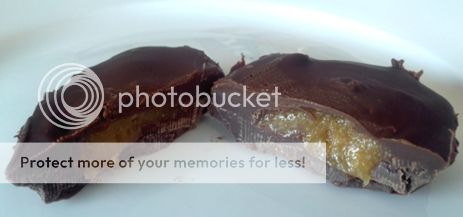
Chocolate Peanut Butter Cups

This is simple to make, does not require the use of an oven (only a microwave) and kids will love it!

Chocolate Peanut Butter Cup 1

Ingredients:


1 cup milk chocolate chips
1/3 cup peanut butter
1/4 cup margarine or butter
1/4 cup sugar
mini cupcake papers


Directions:

1. Mix the peanut butter, butter and sugar in a bowl and set aside.

2. Melt the chocolate in a mug by placing it in the microwave for 2 minutes, stopping the microwave to stir the chocolate half-way through.

3. When the chocolate is soft and fully melted, place a teaspoon into each mini cupcake paper and spread across the bottom.

4. Place a small amount of the peanut butter mixture in the center fo the chocolate in each mini cupcake holder.

5. Cover the peanut bitter with more of the melted chocolate.

6. Refrigerate for 30 minutes or longer.

7. Enjoy!

Chocolate Peanut Butter Cup 2

Chocolate Peanut Butter Cup


Wednesday, 22 December 2010

Chocolate Cornflake Krackles

Chocolate Cornflake Crackels


This recipe is very simple for kids to make and you only need to use the microwave for the melting process.

Ingredients

2 cups cornflakes cereal
1 large bar of baking chocolate
Silver Balls (optional)

Directions

Melt the chocolate in the microwave. (This only takes about a minute or two.)

Stir the chocolate until it is all melted together and smooth.

Add the cornflake and stir until the cornflakes are completely coated with the melted chocolate.

Spoon the mixture into cupcake or muffin cases.

Set out to cool until the chocolate hardens.

Enjoy!


Chocolate Cornflake Crackles1


Friday, 29 October 2010

Edible Peanut Butter Marshmallow Playdough

Kids have a lot of fun making this! It's very messy but ultimately worth the mess! Despite being messy, this is so easy for children to make.

Peanut Butter Marshmallow Playdough


Ingredients

Marshmallows
Peanut butter

Directions

1. Top several marshmallows each with a spoonful of peanut butter. Start kneading the two together until it forms a smooth ball that can be manipulated like playdough.

2. Play with the playdough balls and form shapes, use cookie cutters in it and generally just play with it the way you would normal playdough.

3. Eat the playdough. Yum!

Peanut Butter Marshmallow Playdough1


Saturday, 28 August 2010

Kids' Cooking Fun!

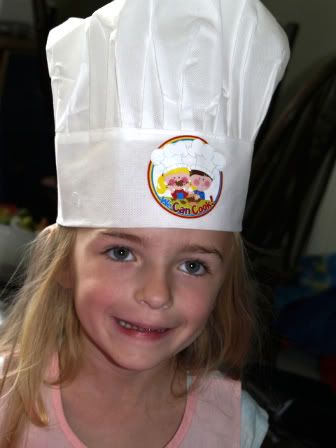
My husband decided to get the kids doing some cooking today. We had bought some cooking supplies, aprons and chef's hats for the kids, so he thought they'd have fun doing some cooking with the new stuff.

First, they had to get all of the supplies out. Connor was thrilled with the new dinosaur-shaped cookie cutters.
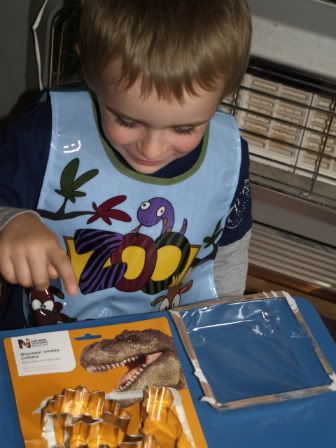
Connor Kids Creating Cakes 28 Aug 2010


And Isabella was quick to put on her new cooking apron and chef's hat.
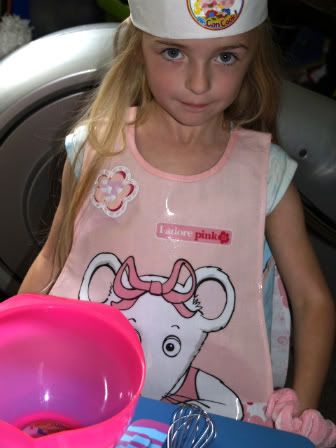
Bella Kids Creating Cakes 28 Aug 2010

Bella Kids Creating Cakes1 28 Aug 2010


Connor put his new cooking apron and chef's hat on too.
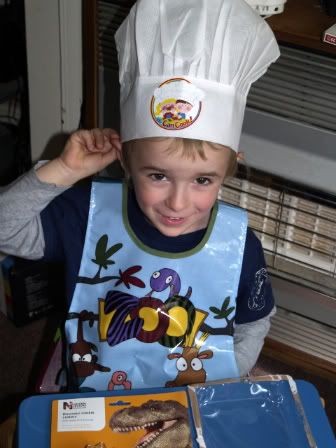
Connor Kids Creating Cakes1 28 Aug 2010

Connor Kids Creating Cakes2 28 Aug 2010


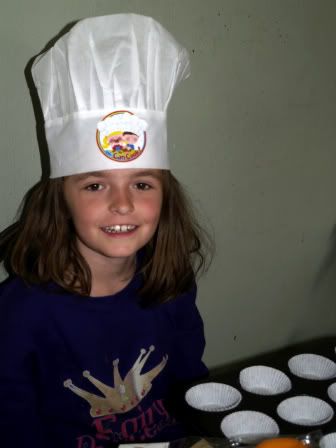
They started out by making cupcakes (known as fairy cakes in the UK). Gabriella put the cupcake papers into the cupcake pan.

Gabby Kids Creating Cakes 28 Aug 2010

Gabby Kids Creating Cakes1 28 Aug 2010


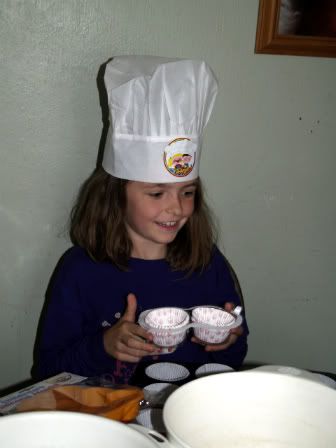
Then she realized that she wasn't wearing her chef's hat, so she rectified the situation.
Gabby Kids Creating Cakes2 28 Aug 2010

Gabby Kids Creating Cakes3 28 Aug 2010


The cupcakes were just made with a simple sponge cake mix, bought for 69 pence from the local store. The kids just had to add water and an egg to it, mix it and then have their daddy put it in the oven.

The cupcakes were baking when my husband realized that we were out of powdered sugar (called icing sugar in the UK). I left to go and get some powdered sugar. By the time I got back, they had already eaten the fresh-from-the-oven cupcakes! I have six kids (still at home) and twelve cupcakes were made, so they each had two. This means I didn't get any pictures of the cupcakes to share here.

They also used some of the new teddy bear and butterfly jello molds to make jello shapes. They were not ready when the younger kids went to bed though, so they will have them tomorrow, and we'll see how well they shaped.

Gabby used our new butterfly-shaped chocolate molds to make flavored ice cubes. The chocolate mold was little bit too flexible, so it was difficult placing it in the freezer without spilling some of the liquid. We'll have a look at the ice cubes tomorrow and see how they came out. (I think Gabby would have preferred to make chocolate in the tray!)

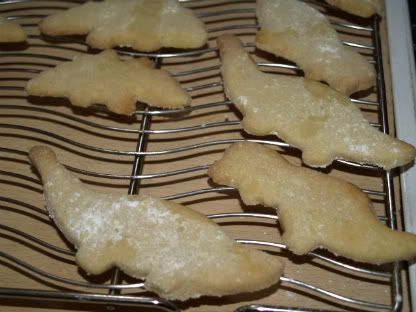
Then they made sugar cookies with the dinosaur-shaped cookie cutters. Fortunately, I was home when these came out of the oven, so I was able to photograph them both while they were cooling on a rack and again once they were put onto a plate.
Sugar Cookies

Sugar Cookies3


The three of them really enjoyed cooking and making such a variety of different things. I must admit that they consumed more sugary food than I usually allow, and this resulted in them acting more hyper for a while and then much crankier and whinier once they came off from the sugar high. But I have a feeling that they will look back at today as a fond memory someday.
Friday, 6 August 2010

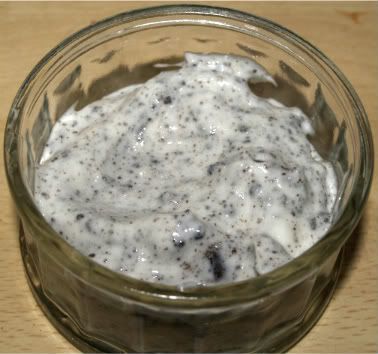
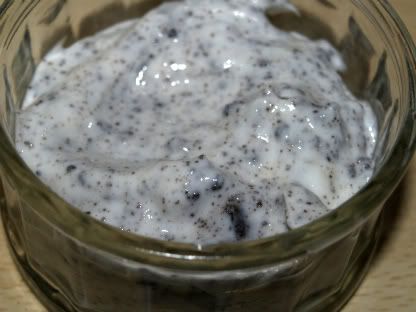
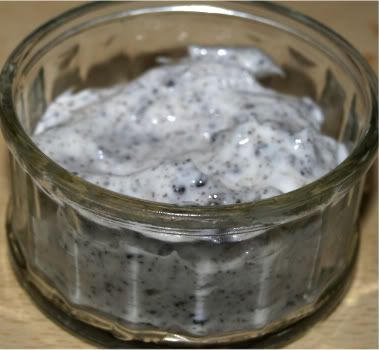
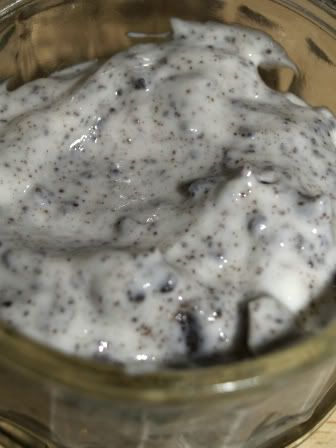
Cookies & Cream Dessert

This is so easy for your kids to make, and it's relatively healthy too!

Cooies & Cream Dessert3


Serves 1.

Ingredients

1 Oreo Cookie
100g Fat-free Greek Yogurt
Sweetener (to taste)
1 tsp. vanilla extract

Method

1. Mix the sweetener, yogurt and vanilla extract together in a bowl.

2. In another bowl, place the Oreo cookie and, using the back of a spoon, crush it until it is a combination of small chunks and powder.

3. Mix the crushed Oreo in with the yogurt mixture.

4. Spoon into a small bowl for serving.

Cooies & Cream Dessert


Cooies & Cream Dessert2


Cooies & Cream Dessert1

Saturday, 17 July 2010

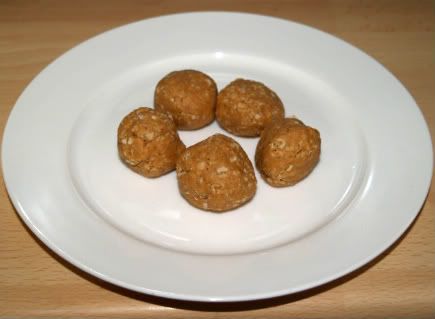
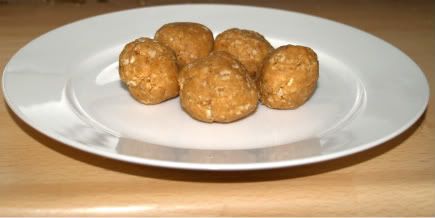
Peanut Butter Honey Oatmeal Balls

This recipe is simple, does not require any cooking, and provides a bit of protein and fiber.

Peanut Butter Honey Oatmeal Balls


Ingredients
1 tbsp. reduced fat peanut butter
1 tbsp. pure honey
1/2 cup oats

1. Mix the peanut butter and honey together until smooth.

2. Add in the oats and mix completely.

3. Using your hands, separate the mixture into five sections and roll into balls.

4. Refrigerate for one hour and then serve.

Peanut Butter Honey Oatmeal Balls1

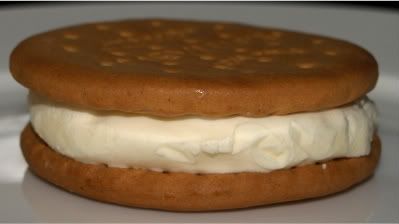
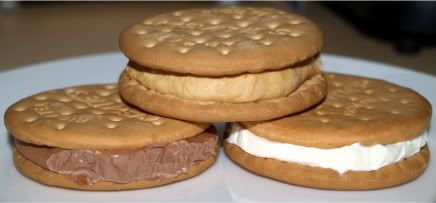
Easy Ice Cream Sandwiches

These ice cream sandwiches are easy to make and are a little healthier than store bought ice cream sandwiches.

Easy Ice Cream Sandwich1


Ingredients
1 packet Sugar-free Dream Topping/Dream Whip
300ml Semi-skimmed or 1% fat milk
30 digestive biscuits (or, in the U.S.A., you can use graham crackers)
Cling film (or, in the U.S.A., you can use Saran Wrap)

1. Using a mixer, mix the Dream Topping and milk according to the instructions on the packet.

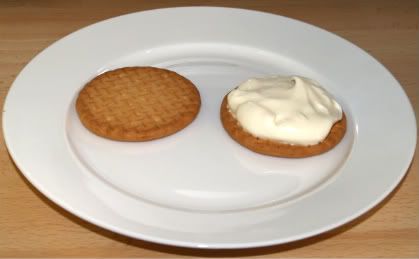
2. Spread the whipped mixture onto 15 biscuits.

Easy Ice Cream Sandwich


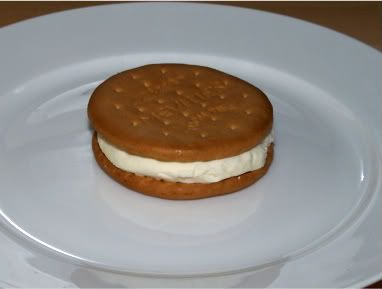
3. Place another digestive on top of the ones with the whipped topping, being careful not to press the digestives down.

4. Carefully wrap some cling film around each digestive, being gentle and taking care not to press the two digestives together.

5. Freeze for one hour.

Easy Ice Cream Sandwich 2


Optional:
For variation, mix hot chocolate powder into the whipped topping. There are several flavors of whipped topping to choose from, including mint chocolate, regular chocolate, and toffee.

Easy Ice Cream Sandwich 3