My husband decided to get the kids doing some cooking today. We had bought some cooking supplies, aprons and chef's hats for the kids, so he thought they'd have fun doing some cooking with the new stuff.
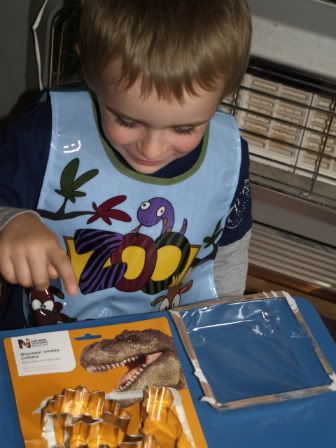
First, they had to get all of the supplies out. Connor was thrilled with the new dinosaur-shaped cookie cutters.
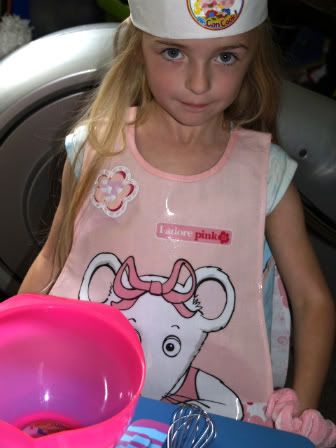
And Isabella was quick to put on her new cooking apron and chef's hat.
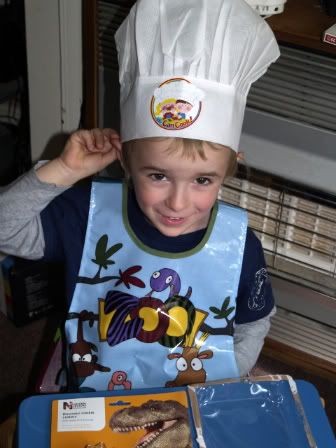
Connor put his new cooking apron and chef's hat on too.

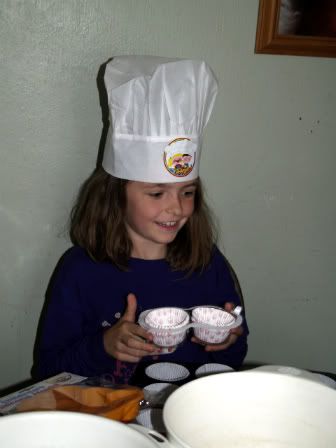
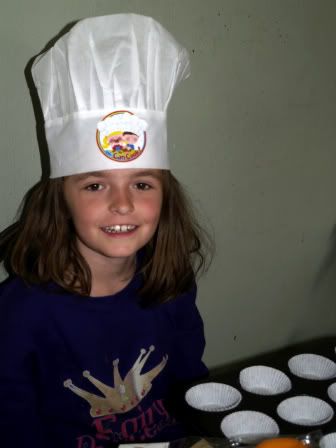
They started out by making cupcakes (known as fairy cakes in the UK). Gabriella put the cupcake papers into the cupcake pan.


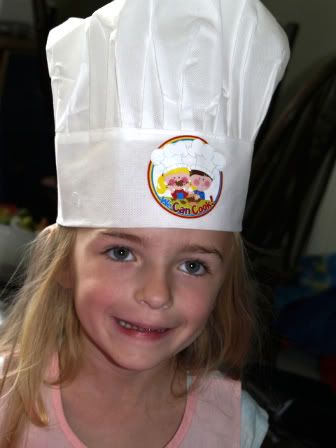
Then she realized that she wasn't wearing her chef's hat, so she rectified the situation.
The cupcakes were just made with a simple sponge cake mix, bought for 69 pence from the local store. The kids just had to add water and an egg to it, mix it and then have their daddy put it in the oven.
The cupcakes were baking when my husband realized that we were out of powdered sugar (called icing sugar in the UK). I left to go and get some powdered sugar. By the time I got back, they had already eaten the fresh-from-the-oven cupcakes! I have six kids (still at home) and twelve cupcakes were made, so they each had two. This means I didn't get any pictures of the cupcakes to share here.
They also used some of the new teddy bear and butterfly jello molds to make jello shapes. They were not ready when the younger kids went to bed though, so they will have them tomorrow, and we'll see how well they shaped.
Gabby used our new butterfly-shaped chocolate molds to make flavored ice cubes. The chocolate mold was little bit too flexible, so it was difficult placing it in the freezer without spilling some of the liquid. We'll have a look at the ice cubes tomorrow and see how they came out. (I think Gabby would have preferred to make chocolate in the tray!)
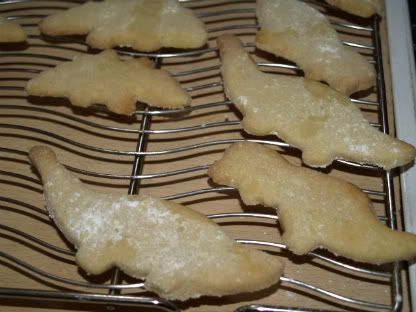
Then they made
sugar cookies with the dinosaur-shaped cookie cutters. Fortunately, I was home when these came out of the oven, so I was able to photograph them both while they were cooling on a rack and again once they were put onto a plate.

The three of them really enjoyed cooking and making such a variety of different things. I must admit that they consumed more sugary food than I usually allow, and this resulted in them acting more hyper for a while and then much crankier and whinier once they came off from the sugar high. But I have a feeling that they will look back at today as a fond memory someday.


